Build home VoIP server with asterisk
Written by Georgi Stefkoff
Background
Have you ever want to build a home VoIP system? I will tell you - you can do this and you do not have to know everything about SIP, trunking, VLAN, QoS and so many network principals in order to build a small home VoIP server. You can follow this article and build your own VoIP server (as I did a my home) using asterisk as a PBX and two very cheap old VoIP phones (2 SwissVoice IP10S, at price for $5 each). Of course you will need a router or a switch at least, but I supposed that you already have a SOHO router running DHCP server.
Inspiration
My inspiration for this project comes from the fact that most of the time, I'm at my basement, and my wife have to call me. Of course she could call me by the phone or using FaceTime or Messager, but there is no fun about this :) . btw, my wife do not like the hole idea, but she just do not understand the effort
Equipment
As I mentioned above, I will use my home router (Mikrotik RB3100), but this is not too important, if your router supports DCHP server. You can use a regular managed or unmanaged switch, but you have to configure all IP address manually and gateways.
Also, I will be using two SwissVoice IP10S VoIP phones:

These phones a quite old, and there could be some issues with the connectivity. Currently, I have a small issue related to the noise cancellation of these phones, but for home usage you can skip a single character from your wife.
If you can not find any cheap VoIP phones, and you do not invest some money in old hardware, you can still test the installation with one PC (Laptop) and a smartphone. I have played the same scenario with running Windows 11 and MiroSIP and iPhone 14 with installed Zoiper. They both support SIP protocol and you can use them. If you are using an Android, you can search at the Google Play Store for a SIP and find any suitable app that can do the job.
Requirements
For this tutorial, you will need a Linux machine (physical or virtual) with running Ubuntu 20.04 or higher
Installation
Note: In this installation, we will install asterisk from the public apt repository. This meanst that the asterisk will be precompiled for your system and it will be installed as it was compiled. This is not the recommended way, but for the sake of the tutorial and the home usage, I will stay with this option. The better way is to download the source code and compile it on your system with all of the libraries. In this way, you can include additional modules, like Bluetooth trunk and so on. Later I will add another article of how you will do this.
- Update and upgrade the system
sudo apt update
sudo apt upgrade
- Install asterisk
sudo apt install asterisk
- Validate asterisk is working
Check the systemd service:
sudo systemctl status asterisk
Simple output:
● asterisk.service - Asterisk PBX
     Loaded: loaded (/lib/systemd/system/asterisk.service; enabled; vendor preset: enabled)
     Active: active (running) since Fri 2024-04-26 13:11:01 UTC; 6h ago
       Docs: man:asterisk(8)
   Main PID: 16825 (asterisk)
      Tasks: 70 (limit: 9388)
     Memory: 45.3M
        CPU: 3min 59.898s
     CGroup: /system.slice/asterisk.service
             ├─16825 /usr/sbin/asterisk -g -f -p -U asterisk
             └─16826 astcanary /var/run/asterisk/alt.asterisk.canary.tweet.tweet.tweet 16825
If you want to enable asterisk service to run on system startup, execute the following command:
sudo sytemctl enable asterisk
Start the asterisk console:
sudo asterisk -rvvv
Simple output:
Asterisk 18.10.0~dfsg+~cs6.10.40431411-2, Copyright (C) 1999 - 2021, Sangoma Technologies Corporation and others.
Created by Mark Spencer <markster@digium.com>
Asterisk comes with ABSOLUTELY NO WARRANTY; type 'core show warranty' for details.
This is free software, with components licensed under the GNU General Public
License version 2 and other licenses; you are welcome to redistribute it under
certain conditions. Type 'core show license' for details.
=========================================================================
Connected to Asterisk 18.10.0~dfsg+~cs6.10.40431411-2 currently running on stefkoff-voip-server (pid = 16825)
stefkoff-voip-server*CLI>
From this console you can various things like showing useful information about the SPI peers, dial plan and so on.
Configure SIP peers
In order the VoIP phone to connect to your PBX, we have to configure the SIP peers first.
- Create a backup of
/etc/asterisk/sip.conf
sudo cp /etc/asterisk/sip.conf /etc/asterisk/sip.conf.bak
- Edit
/etc/asterisk/sip.conf
sudo vim /etc/asterisk/sip.conf
I will suggest you to remove all of the content, if you are not familiar with asterisk and add the new one. That is why we create the backup file.
Add the following likes to the file:
NOTE: ; is a comment line you can skip it you your file. It is just for explanation.
[general]
; almost everything uses a context. Here we specify the context for the general configuration. This context is very important, and if you mix it, asterisk may not work as expected.
context=internal
; do not allow unauthorized user (not mentioned above) to connect to the system
allowguest=no
; RFC3578 overlap dialing support
allowoverlap=no
; UDP port to listen for SIP connections
bindport=5060
; address to listen at. You can set 0.0.0.0 in order to listen from all interfaces. Here I've configured to listen to a specific IP address, which is assigned to the NIC of the virtual server
bindaddr=192.168.88.43
; disable DNS SRV lookups on outbound calls
srvlookup=no
; first disallow all codecs
disallow=all
; Allow codecs in order of preference
allow=ulaw
; the simple explanation of this option is to reject the unauthorized request, without telling the reason
alwaysauthreject=yes
; Do not directly connect the RTP session between the peers. This options is very important, if one of the peers is behind a NAT. With setting this option to yes, the connection may not be established properlly
directmedia=no
; do use nat, if case when all devices are on the same bridge domain. If one of them is from another network, the you should probably set it to auto_force_rport
nat=no
; do not use session timers. All devices will have to handle the reconnect. If you plan to build a dynamic clients, then probably you will need to configure session timers and proper expiration of the peers
session-timers=refuse
; specify the local network IP address range. This is used for the NAT. Here we set it to no, but it is good so asterisk knows which address are on the same network
localnet=192.168.88.0/255.255.255.0

; [7003] is the SIP username
[7003]
; friend means that asterisk will accept all incoming calls, when the authentication is valid
type=friend
; dynamic means that the peer will request it present by himself and it IP address will be learned
host=dynamic
; secret of the user. Here I've set the same as the username, but in real life, this is not a good idea
secret=7003
; again, specify the context that this peer will be valid. Note that this is the same context as above
context=internal

; This is the same as above, but with different username
[7004]
type=friend
host=dynamic
secret=7004
context=internal
As you can see, I give a brief explanation of what each option is doing. It is good to consult with the docs about the rest of the options. btw, you can check all options in the original sip.conf file, that we make a backup from it
- Edit
/etc/asterisk/extensions.conf
Now, we are going to configure our dial plan. The dial plan is a set of rules of how the SIP peers will dial a different extension.
First, as before, create a backup for the extensions file:
sudo cp /etc/asterisk/extensions.conf /etc/asterisk/extensions.conf.bak
Open the extensions file:
sudo vim /etc/asterisk/extensions.conf
Remove all content (as before in sip.conf) and add the following lines:
; context again. We have to match the same context that the SIP user is configured, otherwise, the dial plan wont be executed for the given user
[internal]
; `exten` is shorten for extension
; first we specify the extension number (7003 in this case) Note that, here this matches the same as the username of the SIP peer. You can give another extension you want
; 1 means that this is the first step for the given dial plan
; here we first accept the dial first, before redirecting to anywhere. Note that, answer do not means that the user dialing will be answered, but it is like a entry point when you will redirect the dial plan
exten => 7003,1,Answer()
; Dial(SIP/7003,60) redirect the call to SIP peer 7003. Here you can see that the extension can be different from the SIP peer username
; second parameter is the timeout of the dial. If the timeout is reached, the next operation will be executed.
exten => 7003,2,Dial(SIP/7003,60)
; if there is no answer, we will play a "Nobody available" sound. Note: there are a lot of precompiled sounds in asterisk
exten => 7003,3,Playback(vm-nobodyavail)
; next, open the user's mailbox so the dialer can leave a message to the user
exten => 7003,4,VoiceMail(7003@voip)
; end the call
exten => 7003,5,Hangup()

; the following section is the same as in above, but with different extension and SIP peer
exten => 7004,1,Answer()
exten => 7004,2,Dial(SIP/7004,60)
exten => 7004,3,Playback(vm-nobodyavail)
exten => 7004,4,VoiceMail(7004@voip)
exten => 7004,5,Hangup()

; this is an another dial plan that the user 7003 can open his Voice Mail.
; when the user dial 8003, there will be some messages, and the user needs to follow the instruction in order to manipulate the VoiceMail
; note about @voip. Here we specify the context of the voice mail. You will see this in the next item
exten => 8003,1,VoicemailMain(7003@voip)
exten => 8003,2,Hangup()

; same as the previous VoiceMail, but for peer 7004
exten => 8004,1,VoicemailMain(7004@voip)
exten => 8004,2,Hangup()
- Edit
/etc/asterisk/voicemail.conf
Now, we will configure our voice mail
Add the following lines at the end of the file:
; context
[voip]
; SIP username
; the format is following:
; mailbox => password[,FirstName LastName[,email addr[,pager addr[,options[|options]]]]]
; you can configure a password for the voice mail, and once the user dial the voice mail extension, he will be prompted to enter the password first through the keypad
; in our case we do not have any password, because I do not manage to enter any password from IP10S phones. This will be the case of my next investigation
7003 =>
; SIP username
7004 =>
- Edit
/etc/asterisk/modules.conf
When I build my asterisk PBX, I have to disable few modules, because I could not run the VoiceMail. You can add the following lines to the end of the file or if they are already there, you can skip this step
Open /etc/asterisk/modules.conf
sudo vim /etc/asterisk/modules.conf
Add the following lines:
noload => app_voicemail_imap.so
noload => app_voicemail_odbc.so
With these lines, we are telling that the VoiceMail will not have to read or send the voice mail to some mail or database. Only physical recordings will be used.
- Reload asterisk
First enter in asterisk console:
sudo asterisk -r
then execute the reload command:
reload
Test it
So far, so good. Until now, we should have a working asterisk setup and VoIP server. Now it is time to configure the IP10S phones.
- Power your phones
In my case, when I purchased my phones, they come without a power jack (that is why it was just $5 each). The good part is that the most of the VoIP phones supports PoE (802.3af). I've brought a PoE injector and powered my phones directly.
- Wait for the IP connectivity
Once you power on you phones, they will try to assign their IP address by DHCP server. This should take some time, but at the end it should be all connected.
- Configure the SIP connection
First, find the IP address of you phones. Once you know them, go one by one and configure the SIP connection:
First, open the built-in web interface of the phone:
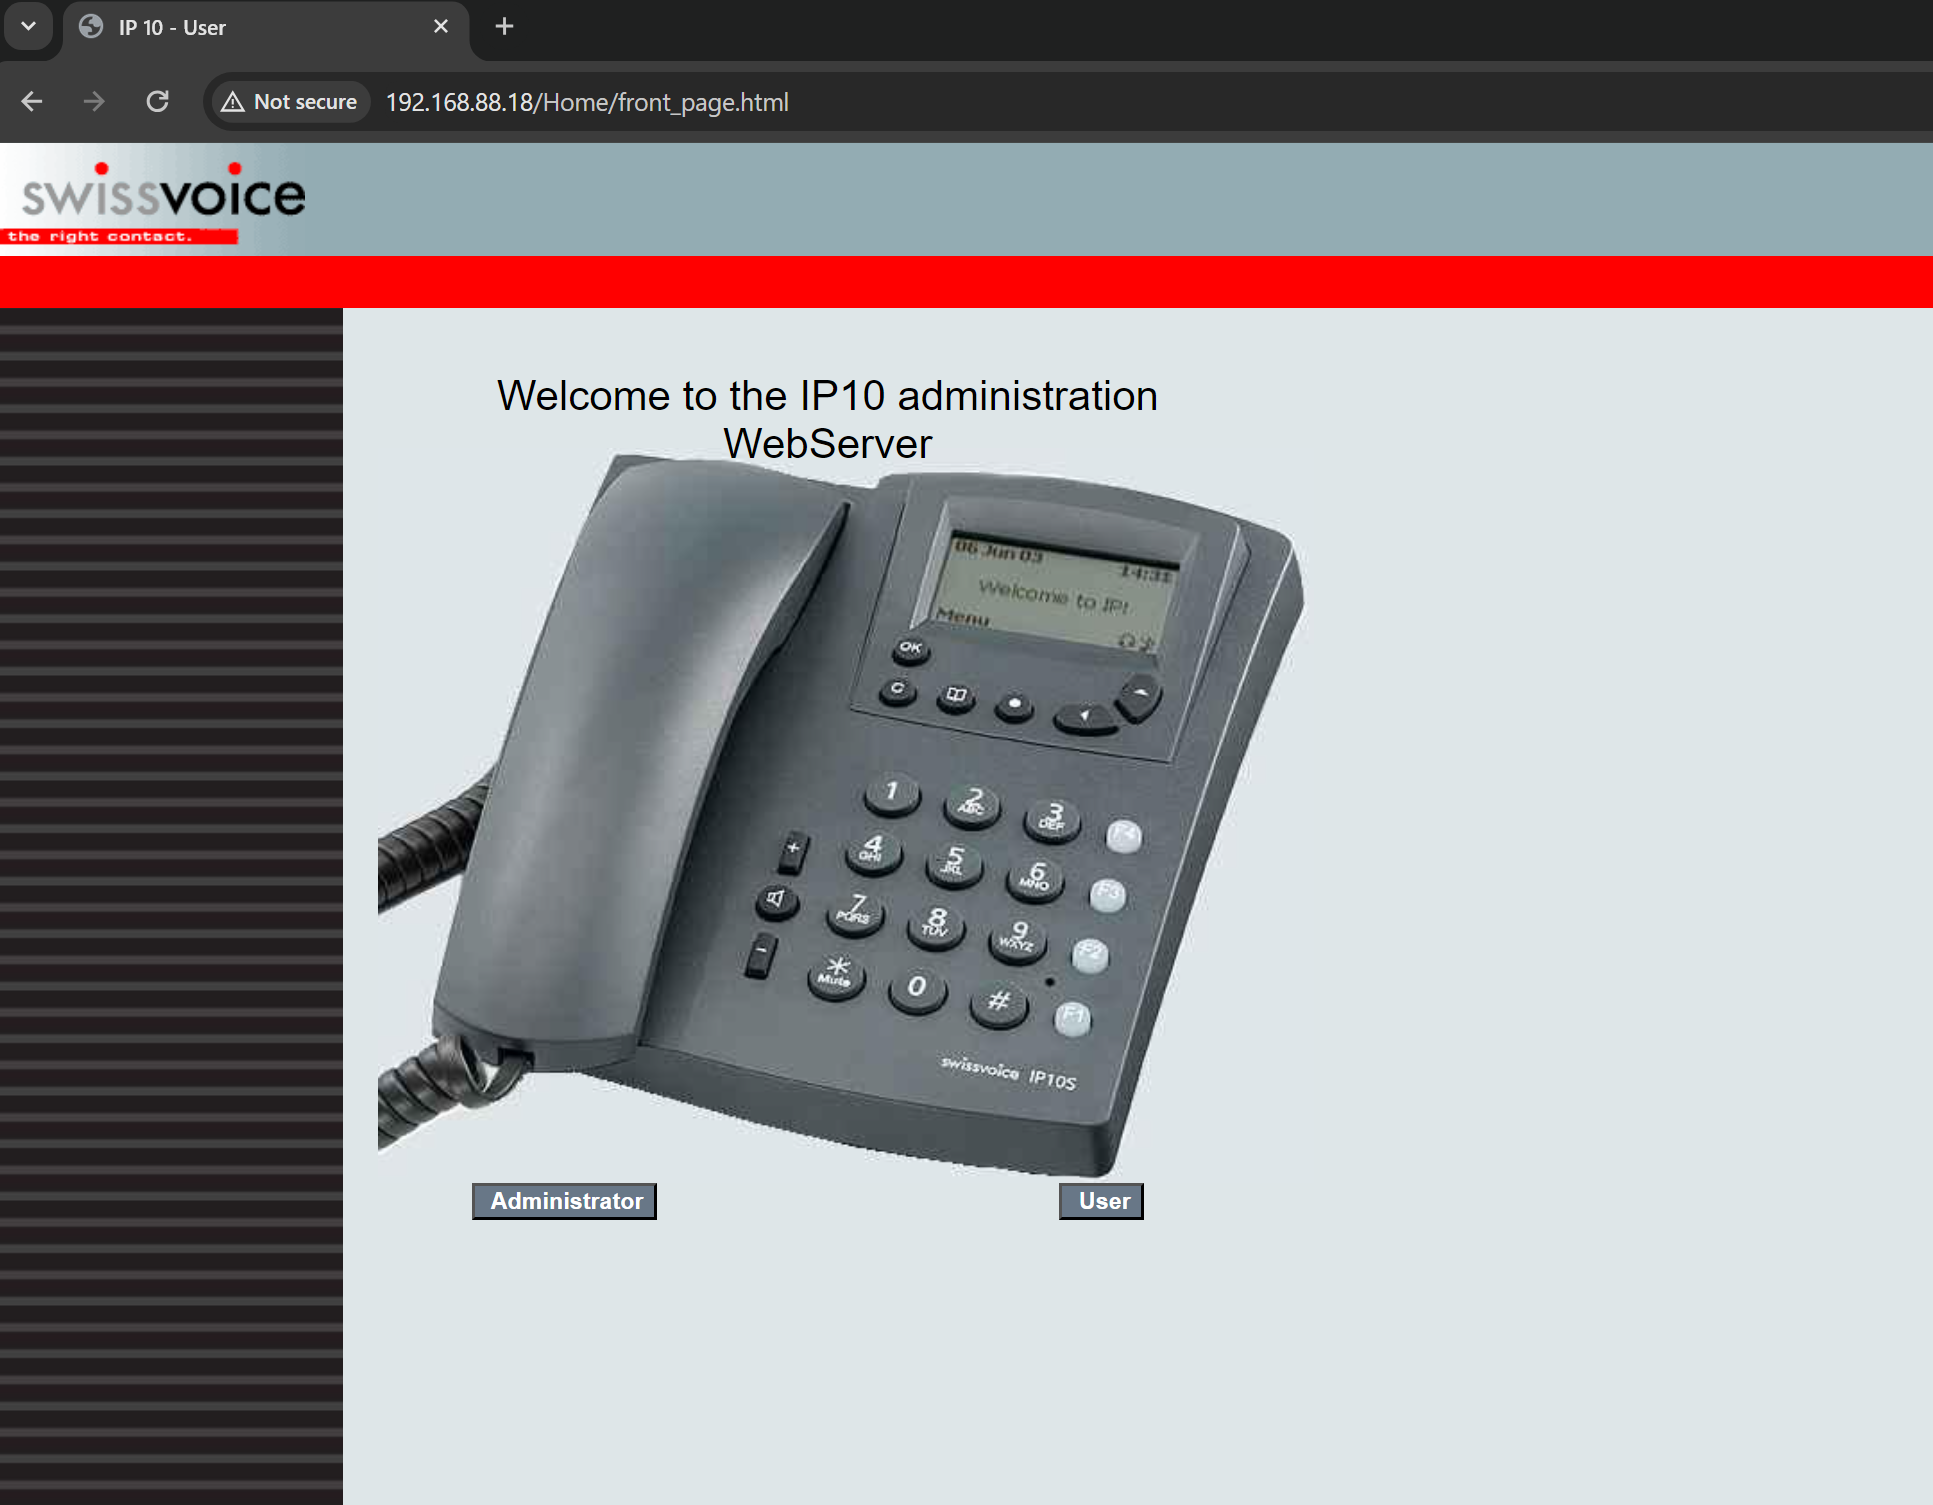 In my case it was at
 http://192.168.88.18
Then you click on the Administrator link. You will be prompted for a username and password. You can try the default one: admin:admin.
On the left menu click on SIP Configuration.
Add the following settings, that you have configured in your sip.conf file accordingly:
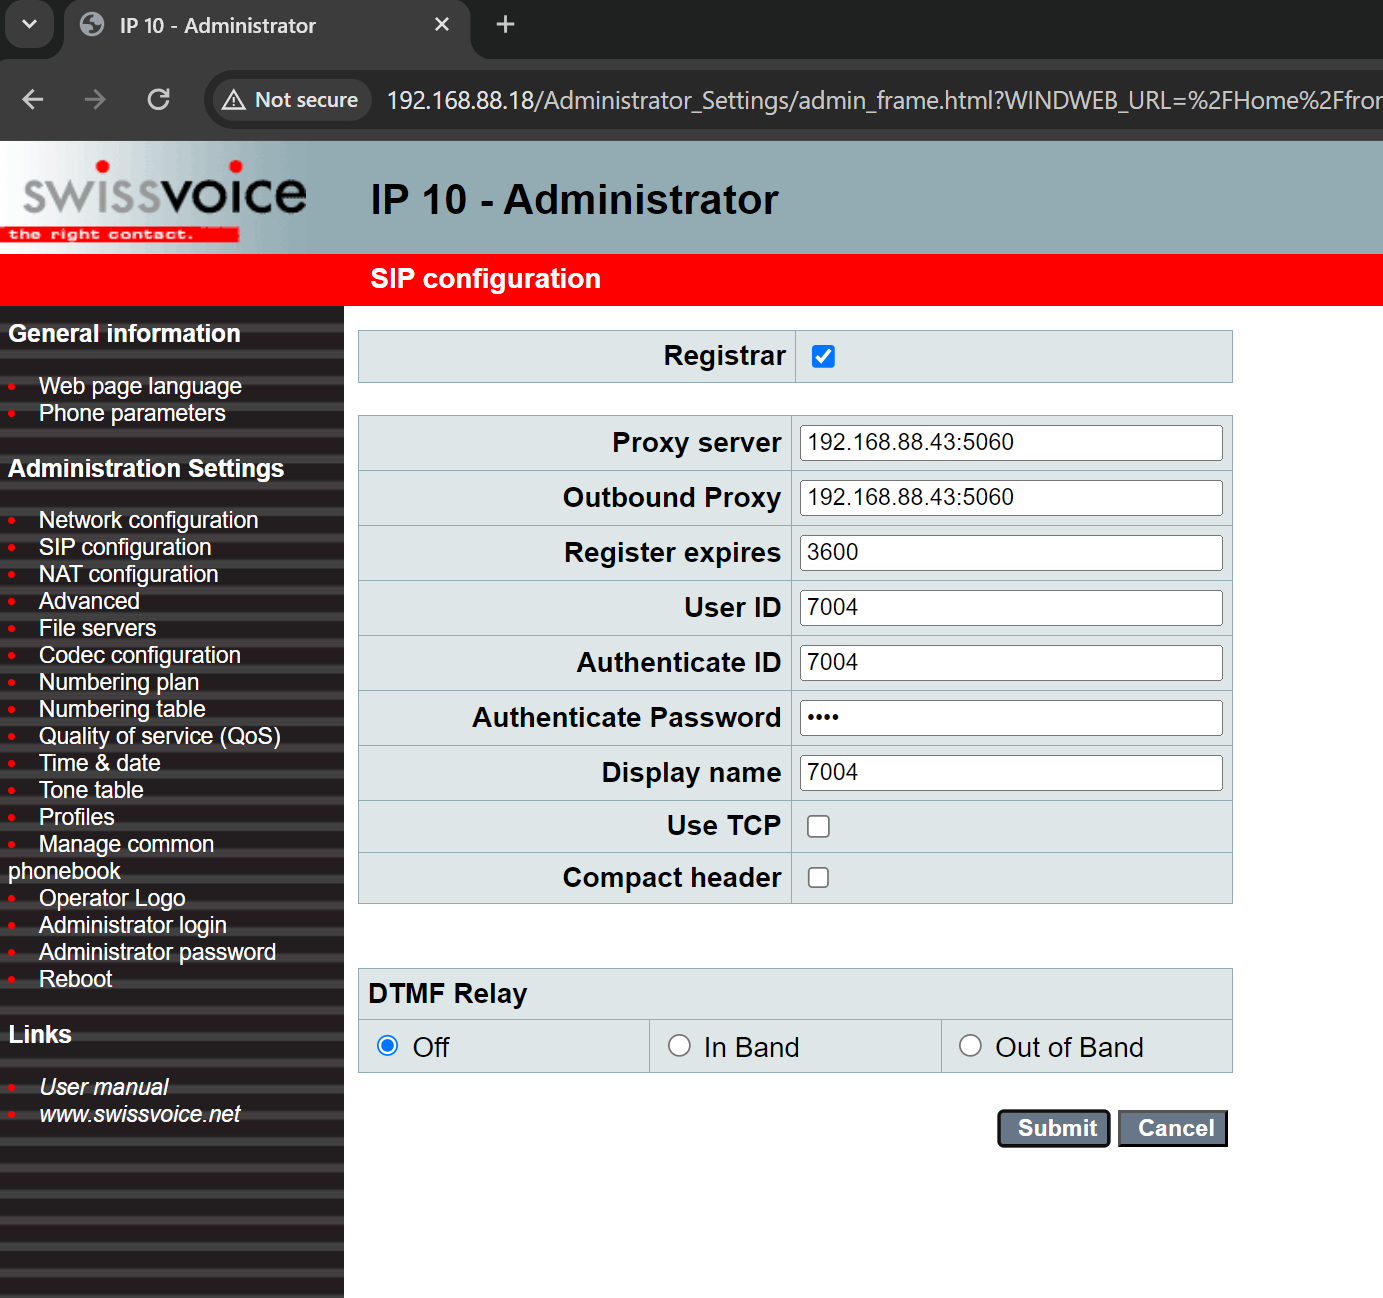
Save the configuration.
You are ready to test.
Now, when you dial one of the phone to the another, you have to be able to make a call.
Can I go to production with this?
Using asterisk for production, depends to your knowledge of asterisk itself, SIP, RTP, etc. There are a lot of prebuild server that can be used for this job, but YES, you can build a configuration that can be used for a small office, even connecting it with a SIP trunk, provided from your mobile operator.
Also, there are a lot of item to consider, when you are building an enterprise VoIP server with asterisk. Here is a some important items to consider:
- VLAN - it is a best (and recommended) practice that the VoIP traffic should be separated from the data traffic. In this way, the phone call will not be compromised and will stay at a dedicated VLAN that is only accessible by the VoIP network. For this to happen, you need to have an managed switches and configure the VLAN for each port that a VoIP phone will be connected. Note that, most of the VoIP phones have an extra RJ45 port for connection a computer. This is limit the UTP cables that needs to go for a phone and computer. The idea here is to setup a trunk port for the VoIP phone with the correct tagged VLAN number. VoIP phones, could be configured to be VLAN aware and they can process with the tagged frames. VoIP phones have an internal switch chip that will bridge with the computer NIC. When you configure you switch VLAN trunk port, you can specify the native VLAN that the untagged traffic should belongs. This is because the VoIP phone will tag the traffic from the phone itself with the configured VLAN number, but the computer will leave as untagged and the switch will know what VLAN should bellongs to the untagged frames.
In our example we do not use any VLANs, because this tutorial will be endless if I need to explain what is VLAN and how to configure them.
Note that, if you are not using VLAN tagging, rest of the items will be invalid for improvement.
- QoS - VoIP phones that support tagged VLANs can perform a QoS tagging in the 801.1q header. In this way, you can configure you switch to prioritize the outgoing traffic for the phones and leave at least 15MB guarantee traffic (for example) for the VoIP phone network. Imagine that you have a lot of employees and all of them have a VoIP phone and a PC. What will happen when all of them start looking at YouTube vides? Boom. RTP session will have a huge dropping frames, because the switch could not handle all of the traffic and send everything to the uplink. When you configure QoS properly for the VoIP, you will have some guarantee traffic for the RTP session and the switch will send then to the top of the outgoing queue and they will be less congested.
Conclusion
Setting up a VoIP server is not an easy job, when you need to do an enterprise server. Here we have covered a basic setup that will works with two phones. It is really depends on your hardware how many phones you can support: Connectivity speed and CPU. I highly recommend readying Asterisk: The Definitive Guide to learn more about asterisk and see what awesome things you can do with this awesome tool.