Building CI/CD deployment with GitLab, Part 2: Setup Repository
Written by Georgi Stefkoff
This is the second part from the series of "Building CI/CD deployment with GitLab". If you haven't read the introduction blog, you check it here.
The plan
Here is an overview of what we will cover in this blog post:
-
Set up the repository in GitLab.
-
Cloning it locally
-
Push the base branches
-
Set up branch permission
Requirements
I assume that you already have a private GitLab repository (self-hosted or cloud-managed).
All the dev work will be done in an Ubuntu Desktop machine, but since we will be using mostly NodeJS, the commands will be valid for Windows systems also.
In this blogs post, we will not be focused over the development, so you can choose your favorite code editor or IDE. You can also may use Vim for editing the files (if you know how to exit after :) ).
Step 1: Set up the repository
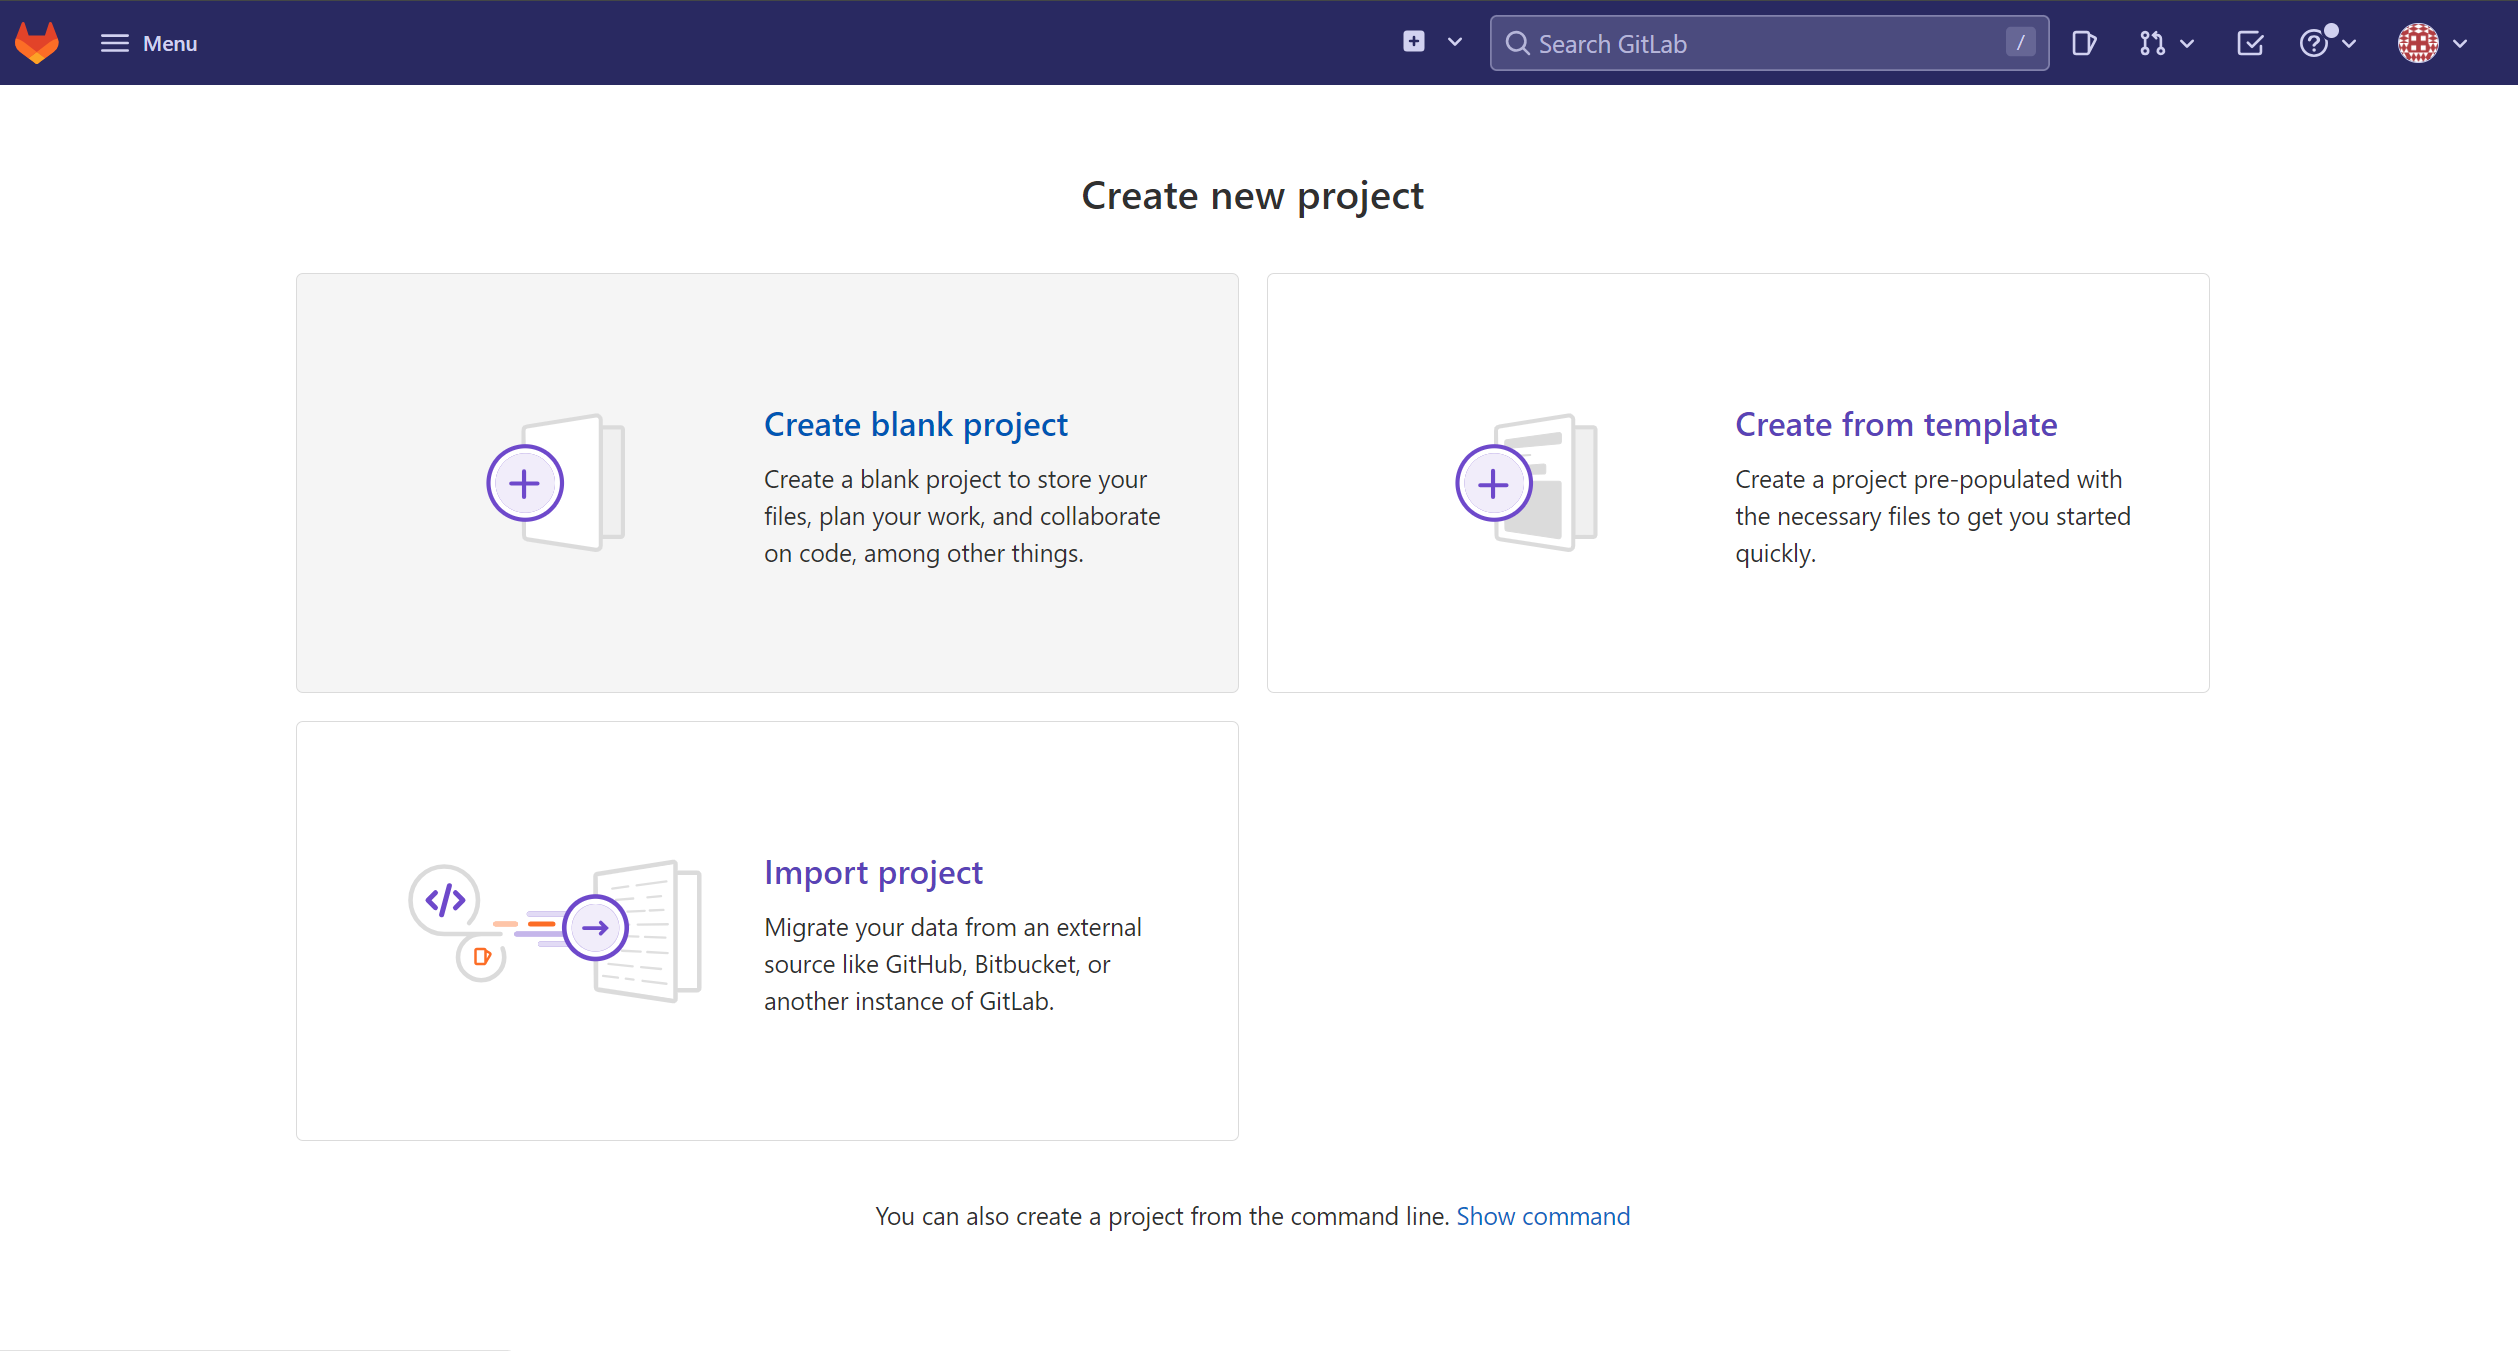
The first this is to log in to your GitLab instance and create a new Blank Project:
On the next screen, enter the following details for your project:
- Project Name - name of your project
- Select the owner of the project - in my case is stefkoff
- Project Slug - the slug will be automatically generated as you type the Project Name, but you can also change
it to something else
- Visibility Level - choose whatever the project should be visible to unauthorized user, or to be private
- Initialize repository with README - check the box, so GitLab will auto generate a README.md file for you
The rest of the fields are optional, and you can leave them empty of fill them with the desired information
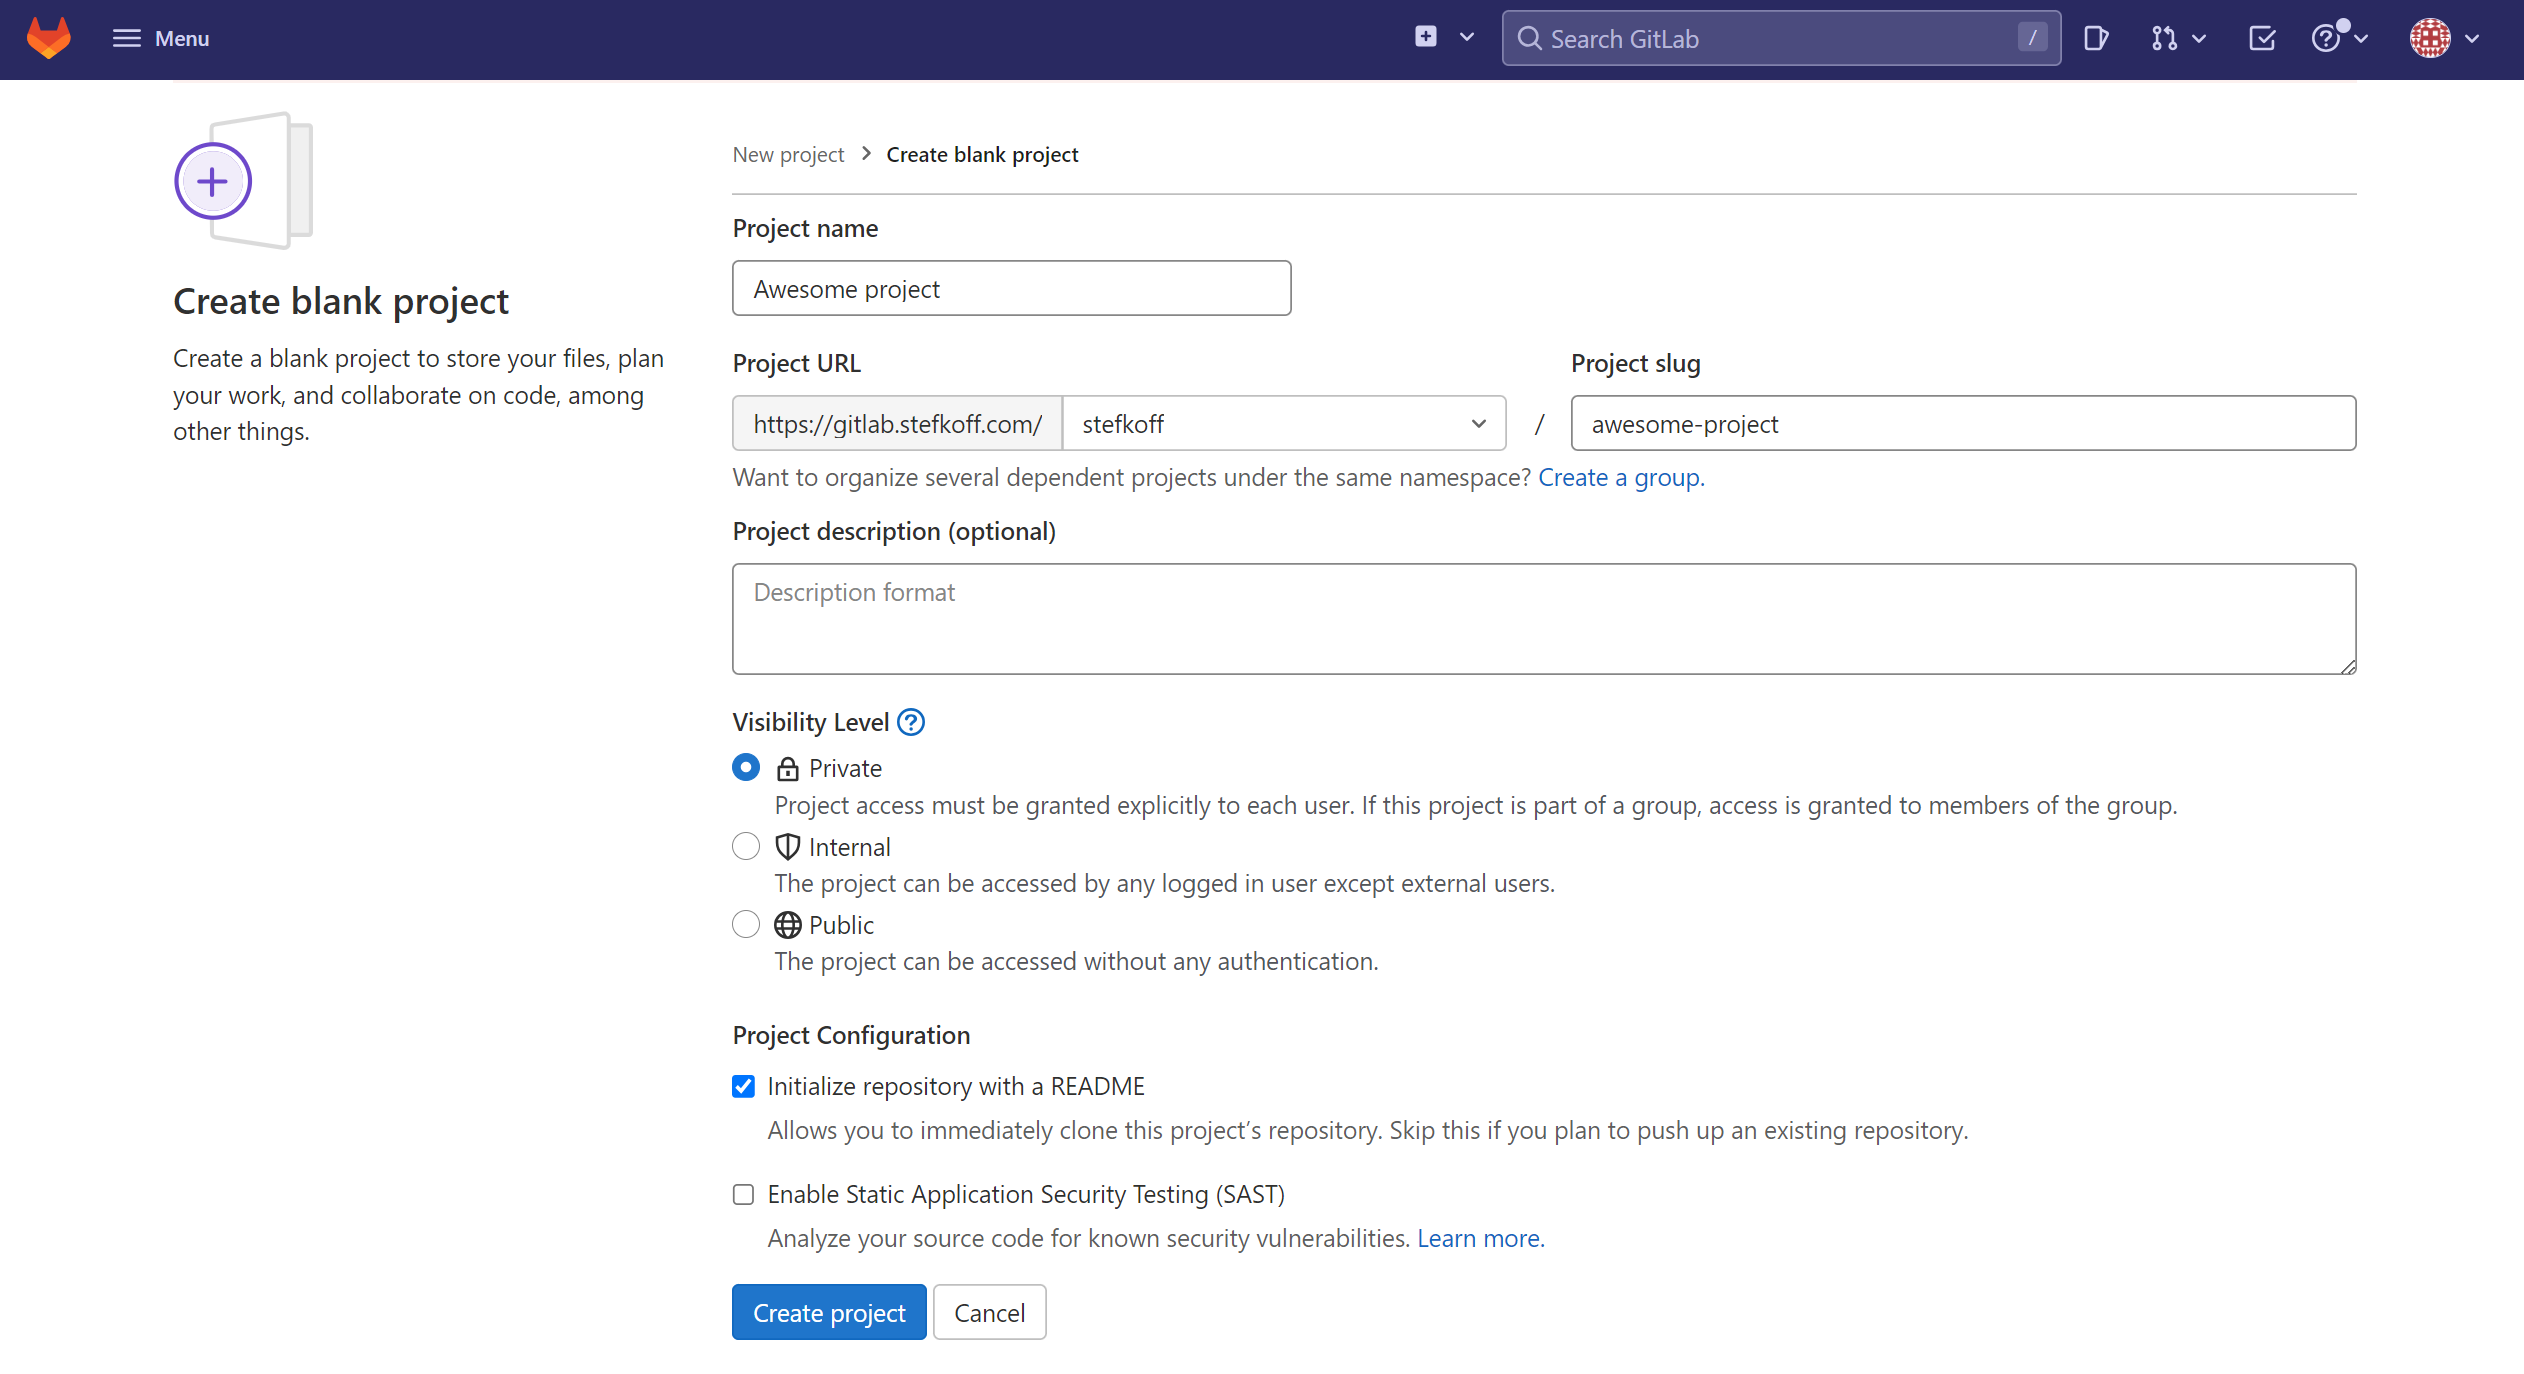
Click on "Create Project" button, and you will be redirected to the repository home page:
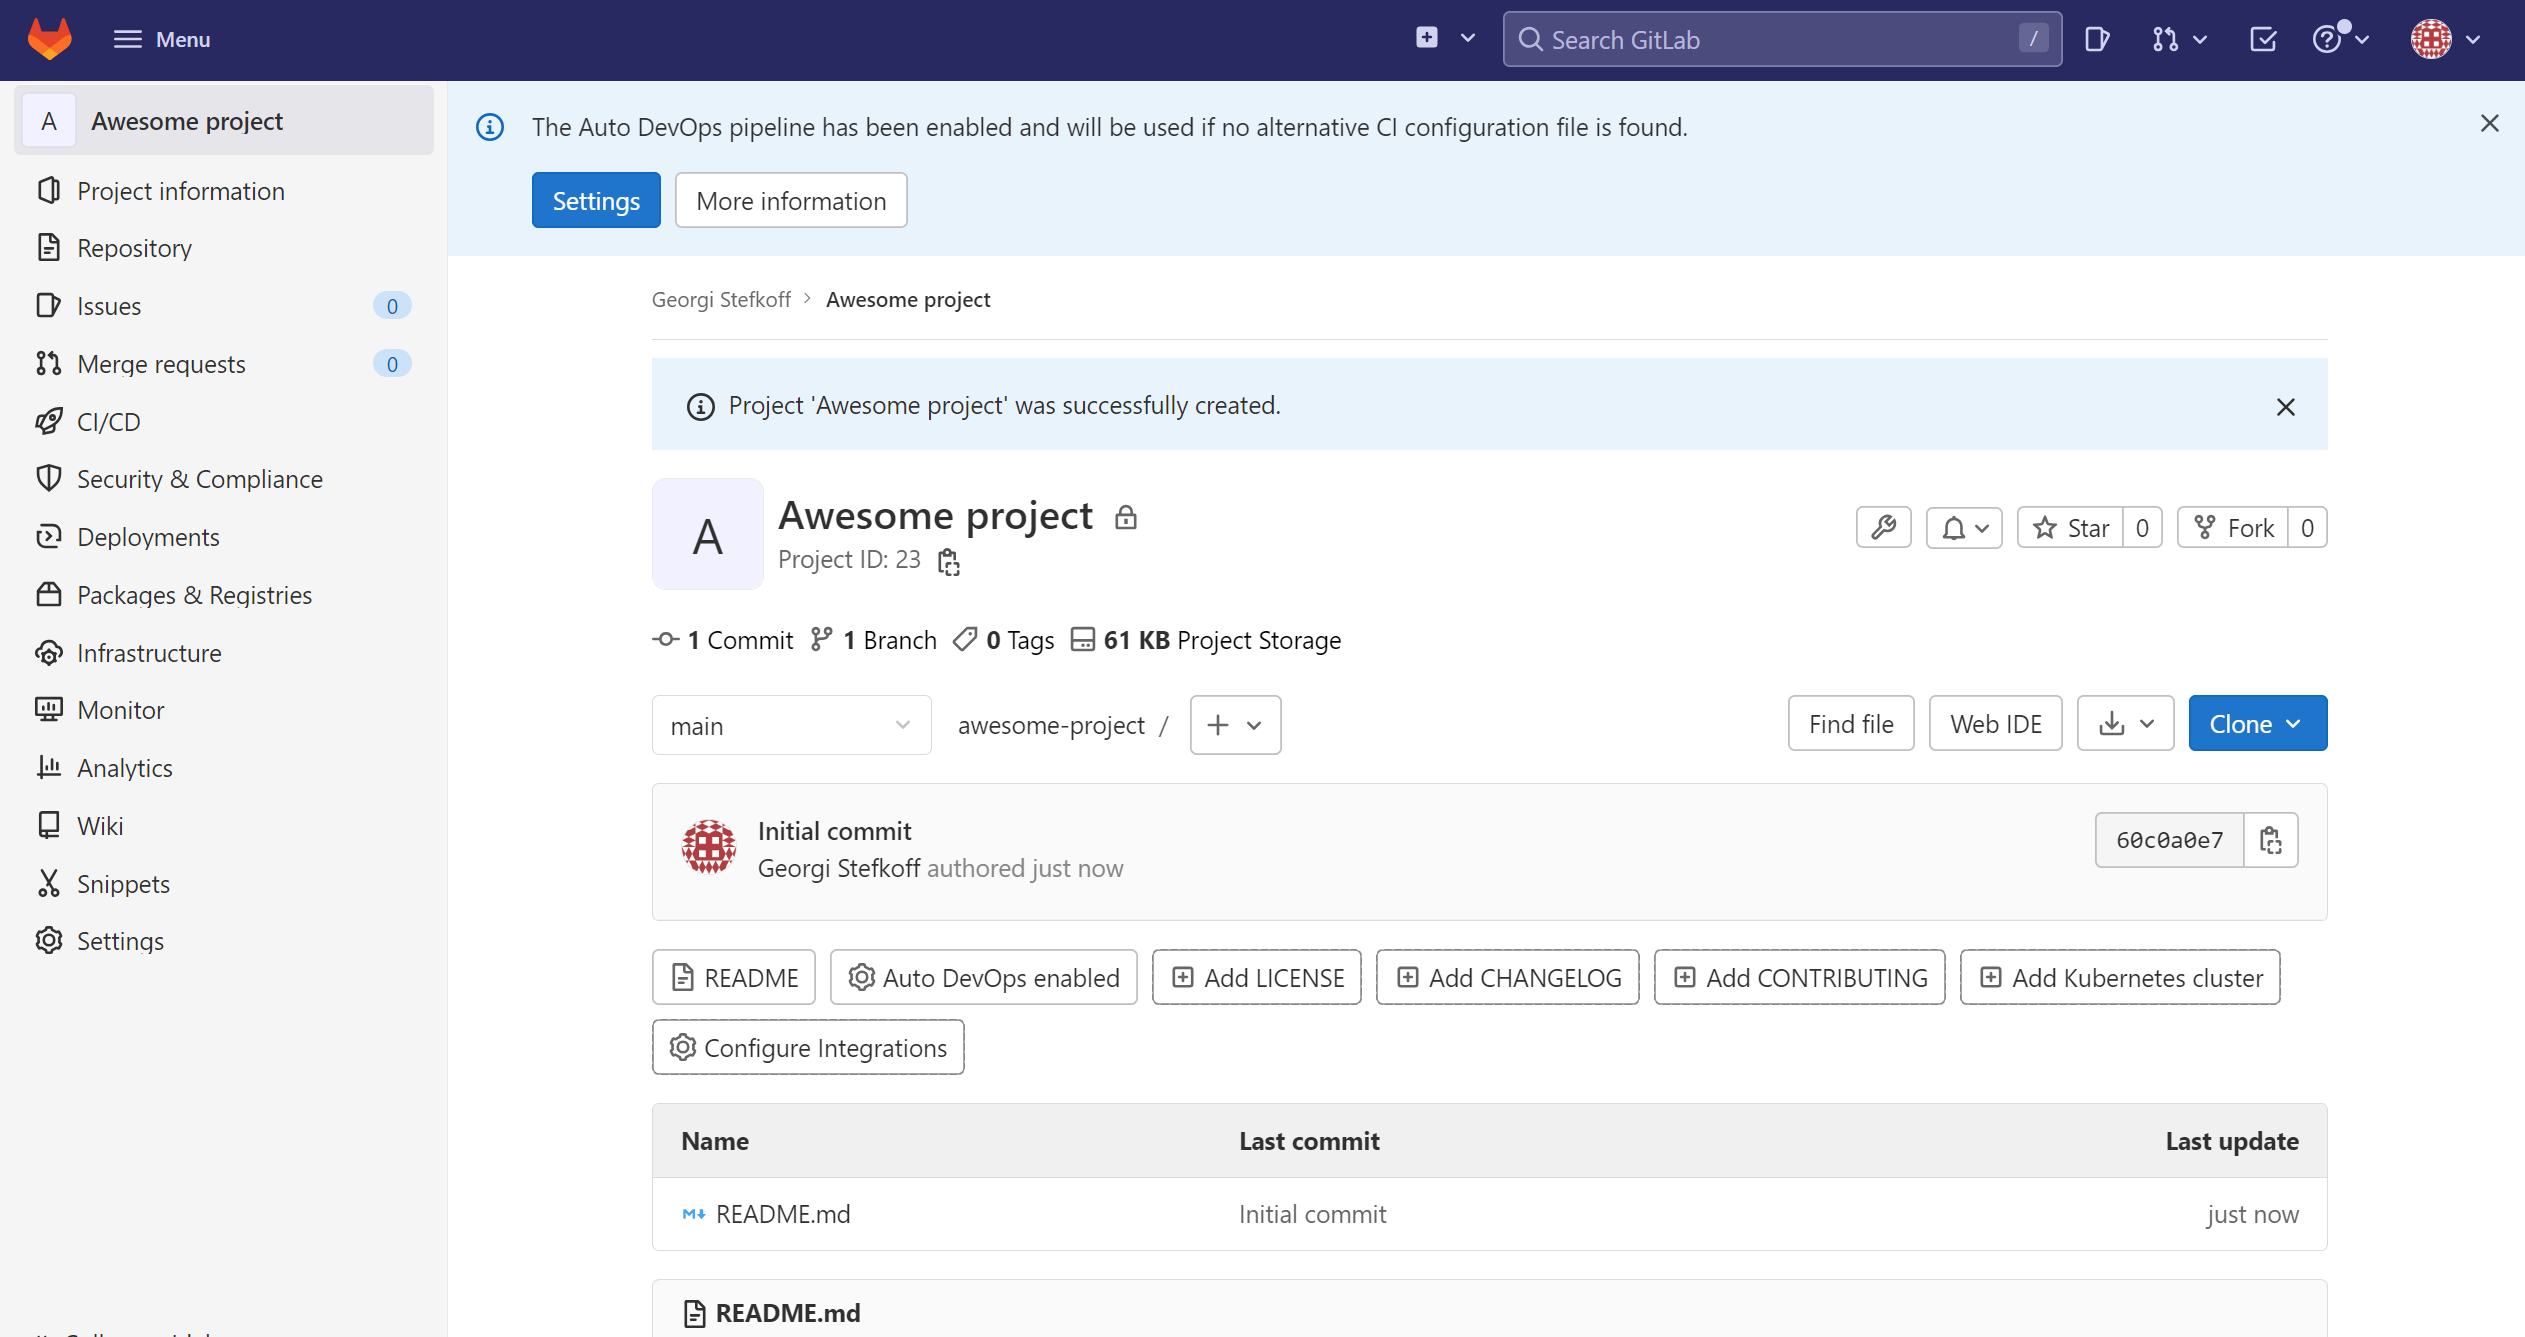
Optional: Disable Auto DevOps:
In GitLab, Auto DevOps feature can be enabled for the newly created project. You will want to disable this feature, in order so save you pipeline execution time.
Auto DevOps will basically scan your code and build a pipeline that will test your code and scan for vulnerabilities.
You can disable "Auto DevOps" for the given project by going clicking the "Settings" button that is presented on the top of the page. It will lead you to the project's settings page, where you should click the "Expand" button in the section Auto DevOps
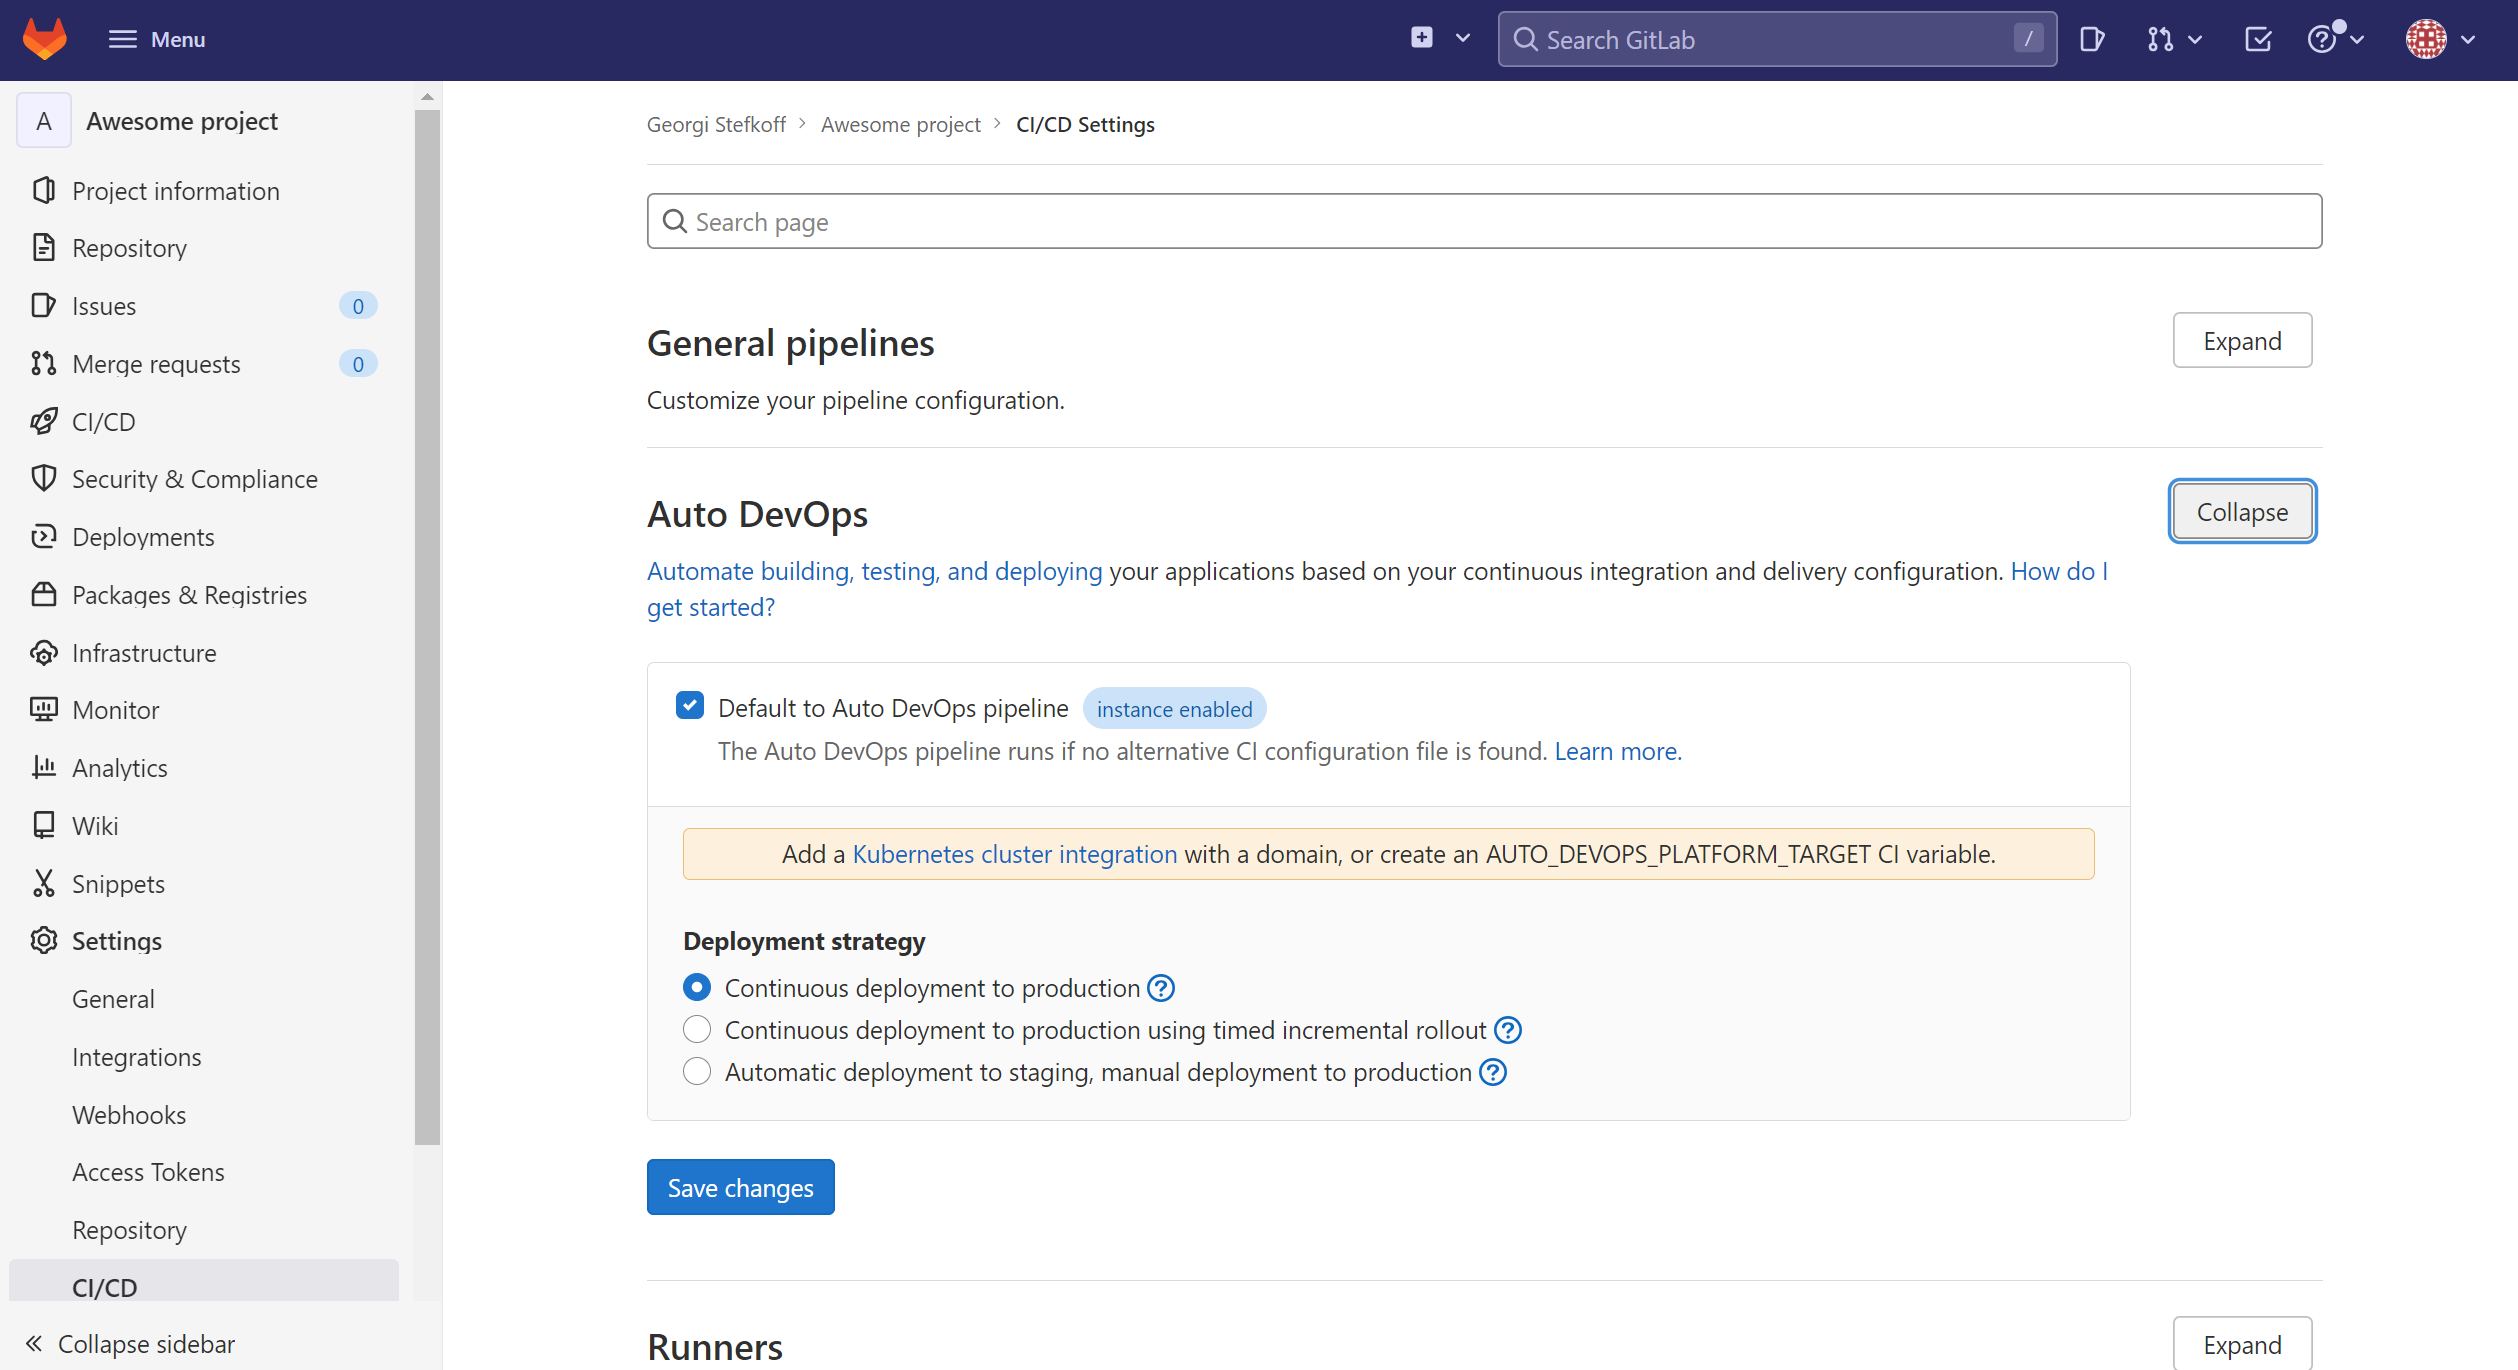
Then just disable the checkbox Default to Auto DevOps pipeline and save the changes.
*Note that, you can see from the screenshot above, that the Auto DevOps is enabled on instance lever. In order to disable it for all feature project, you need to have an admin access and configure this in the admin settings for the GitLab instance
Step 2: Clone the repository locally
In order to do some changes to the repository, we have to clone it locally, commit our changes and push the local commits to the origin server.
In order to do all of this, you need to have git installed locally. For Ubuntu, you can install it with the following commands:
Update the local package index
sudo apt update
Install git
sudo apt install git
Validate the installation:
git --version
If git was successfully installed, then from the last command you have to see the installed version.
Now when we have git installed, we have to clone the repository. Find some folder and execute the following command:
git clone git@gitlab.server.tld:username/project-name (replace the actual SSH from your GitLab project)
*Note: If you created your project as Private, you will not be able to clone the repository without providing an Authorization key and configure the GitLab user to have the copy of the public fingerprint of your Authorization key
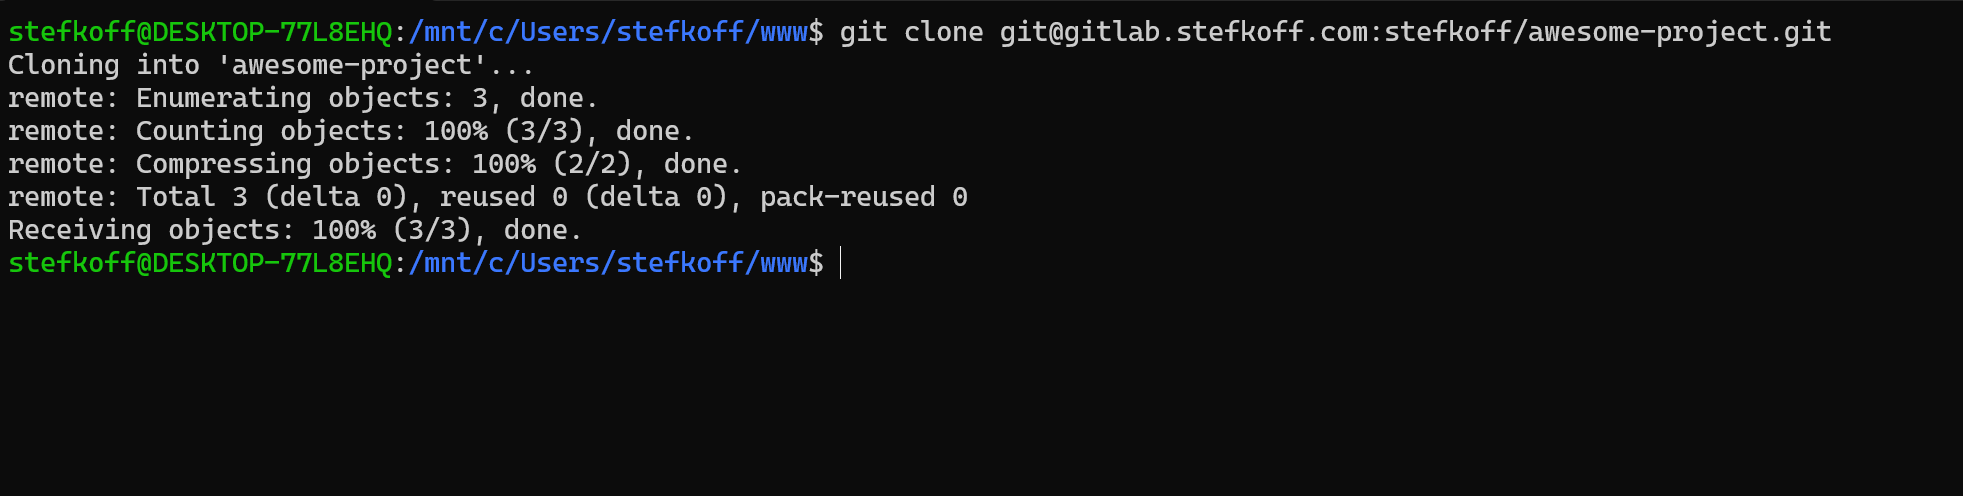
Now, enter to the project directory, that was automatically created when you issue the clone command
cd awesome-project
If you list the directory content, you will see only one file README.md that was created by GitLab.
Step 3: Create the base branches
Now, we will create the two main branches that were required in our planning: staging and production
First create the staging branch:
git checkout -b staging

By the combination checkout -b <branch_name>, git will create a new branch and switch to it.
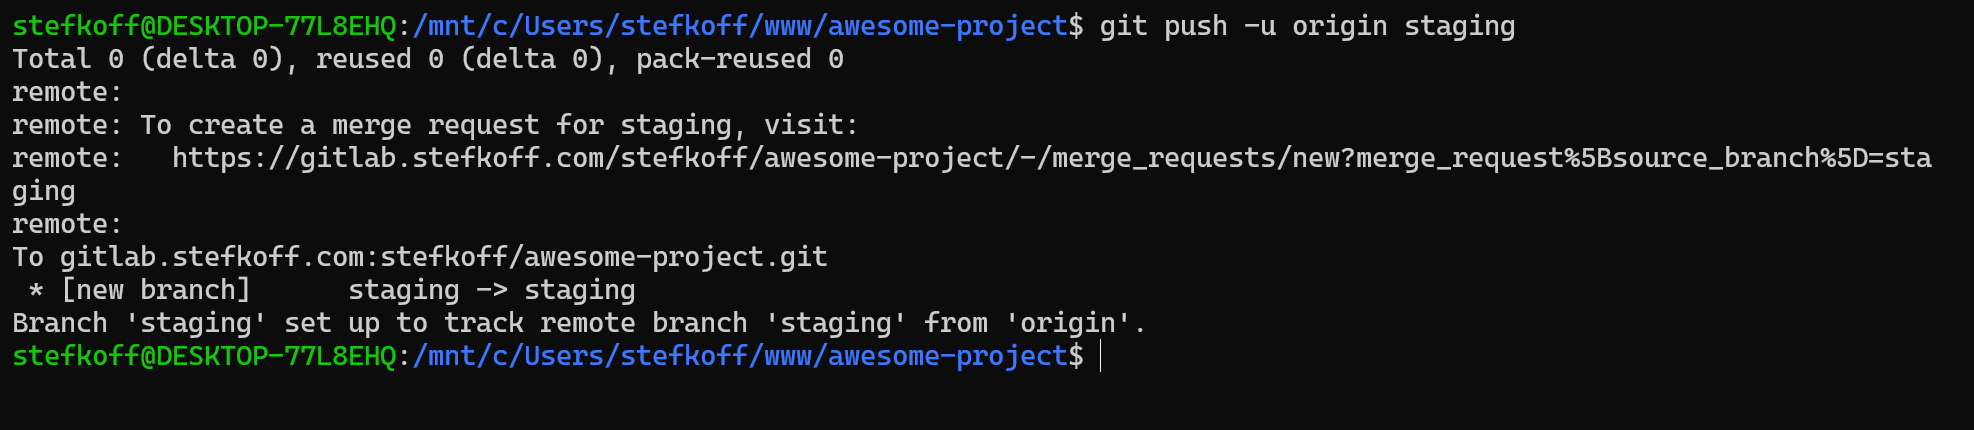
Now, push the staging branch to the remote:
git push -u origin staging
Now, we have to do the same for the production branch. *Note: we will start the production from the staging branch, since this will be desired workflow later. At this stage, it does not matter from where you will start the production branch, since we have only one file.
git checkout -b production
git push -u origin production
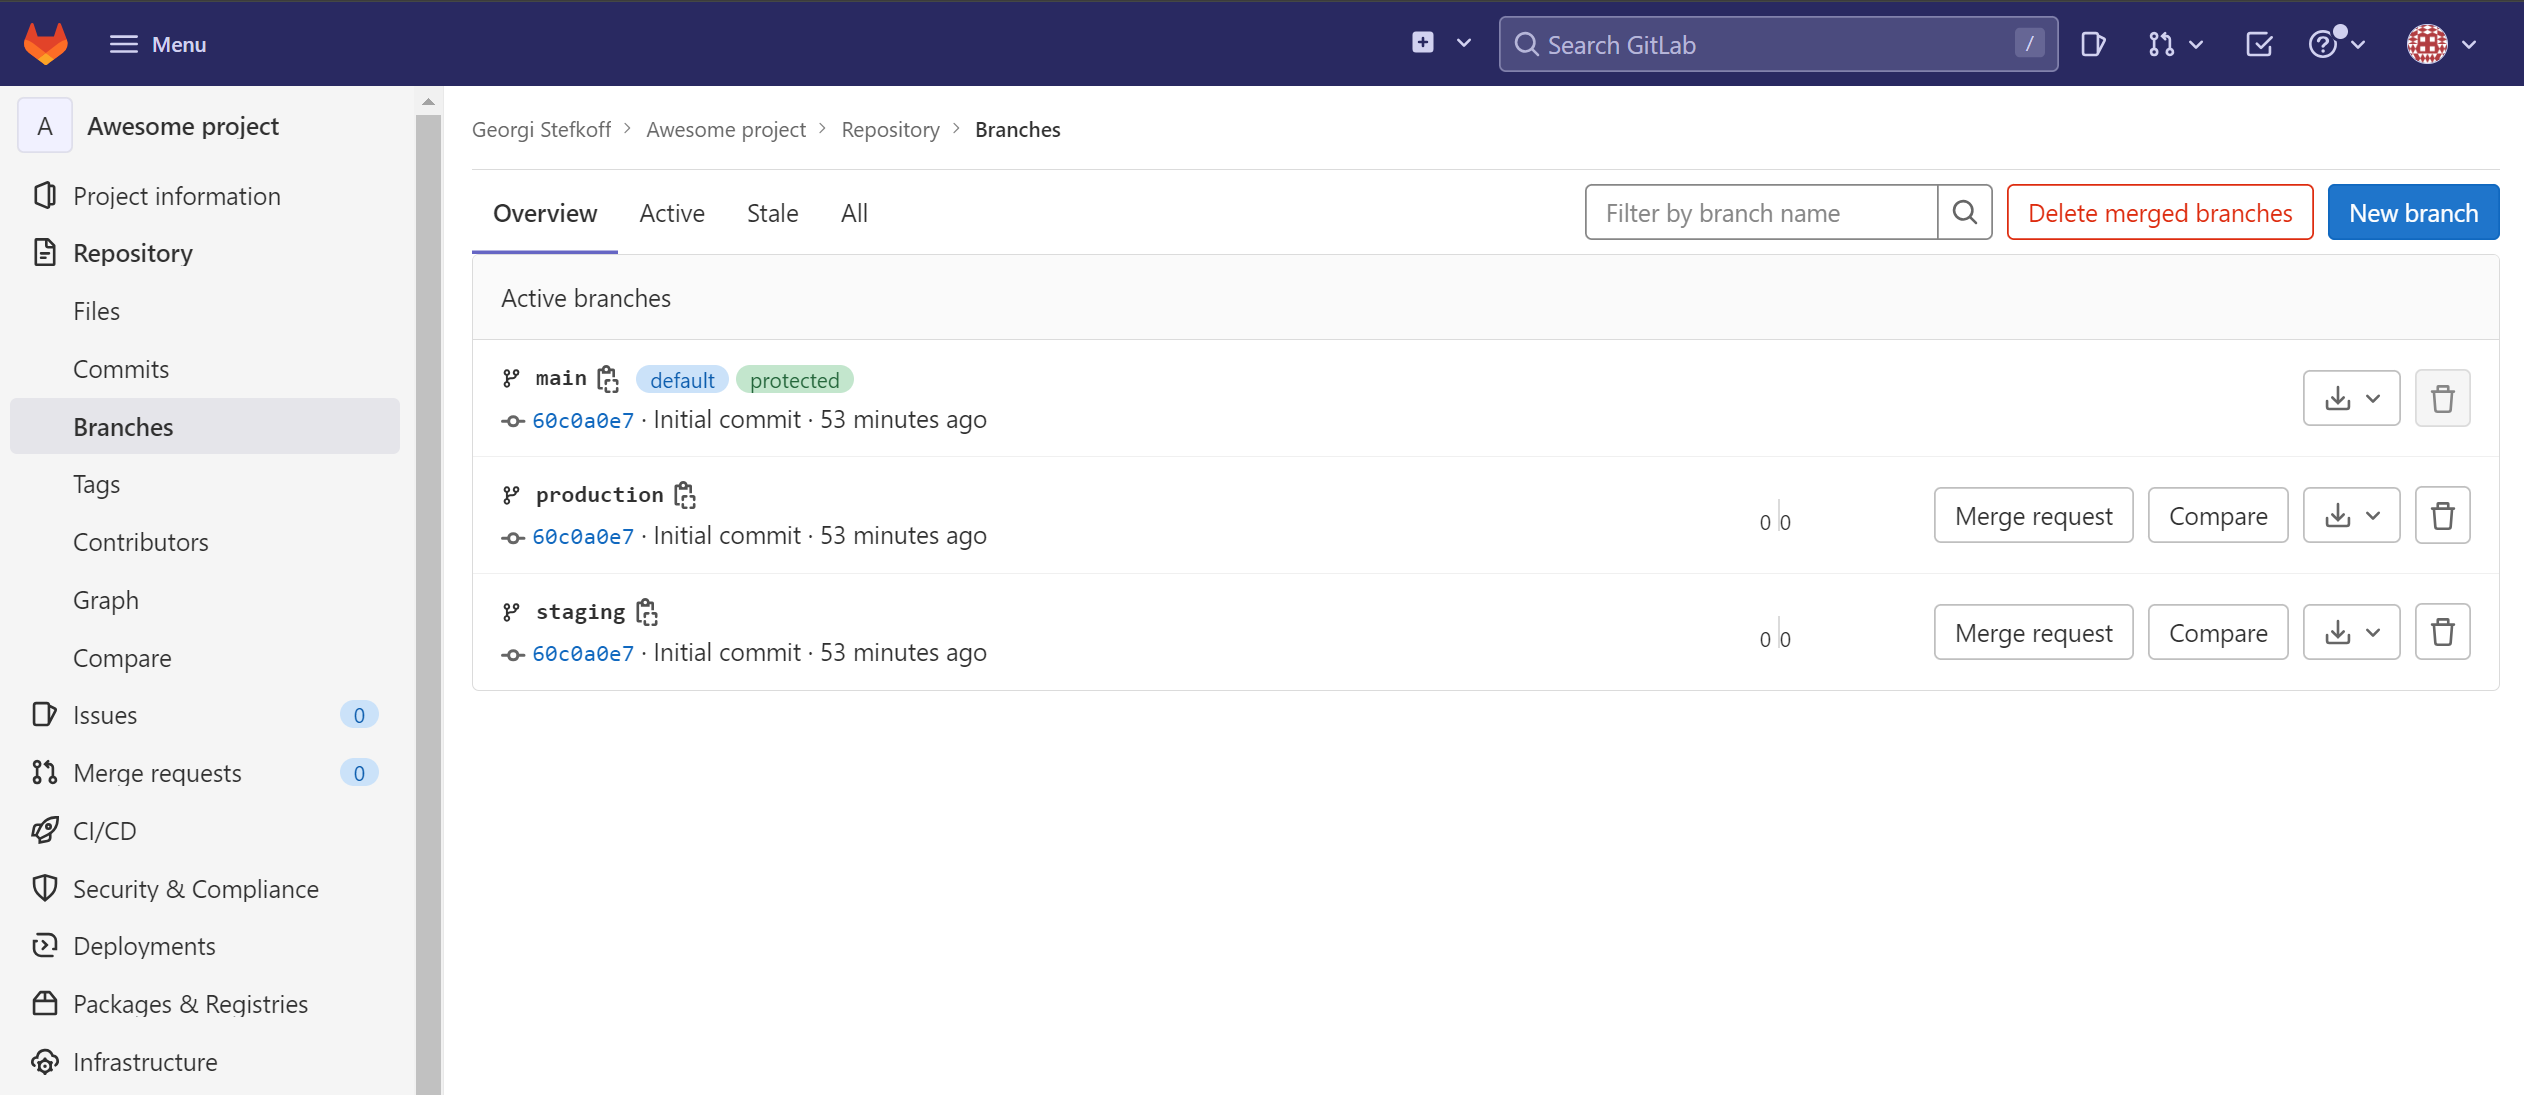
Now, if you open the Branches page (Repository page -> Repository Tab -> Branches), then you will see all the tree branches:
Step 4: Set up the branch permissions
As I explained in my Introduction blog post for these series, we will apply the following rules:
- branches: staging and production can be pushed ONLY by Merge Request
- all other can be pushed by anyone
In order to configure the Branch Permissions, you have to go to Project page -> Settings -> Repository and expand the Protected Branches section:
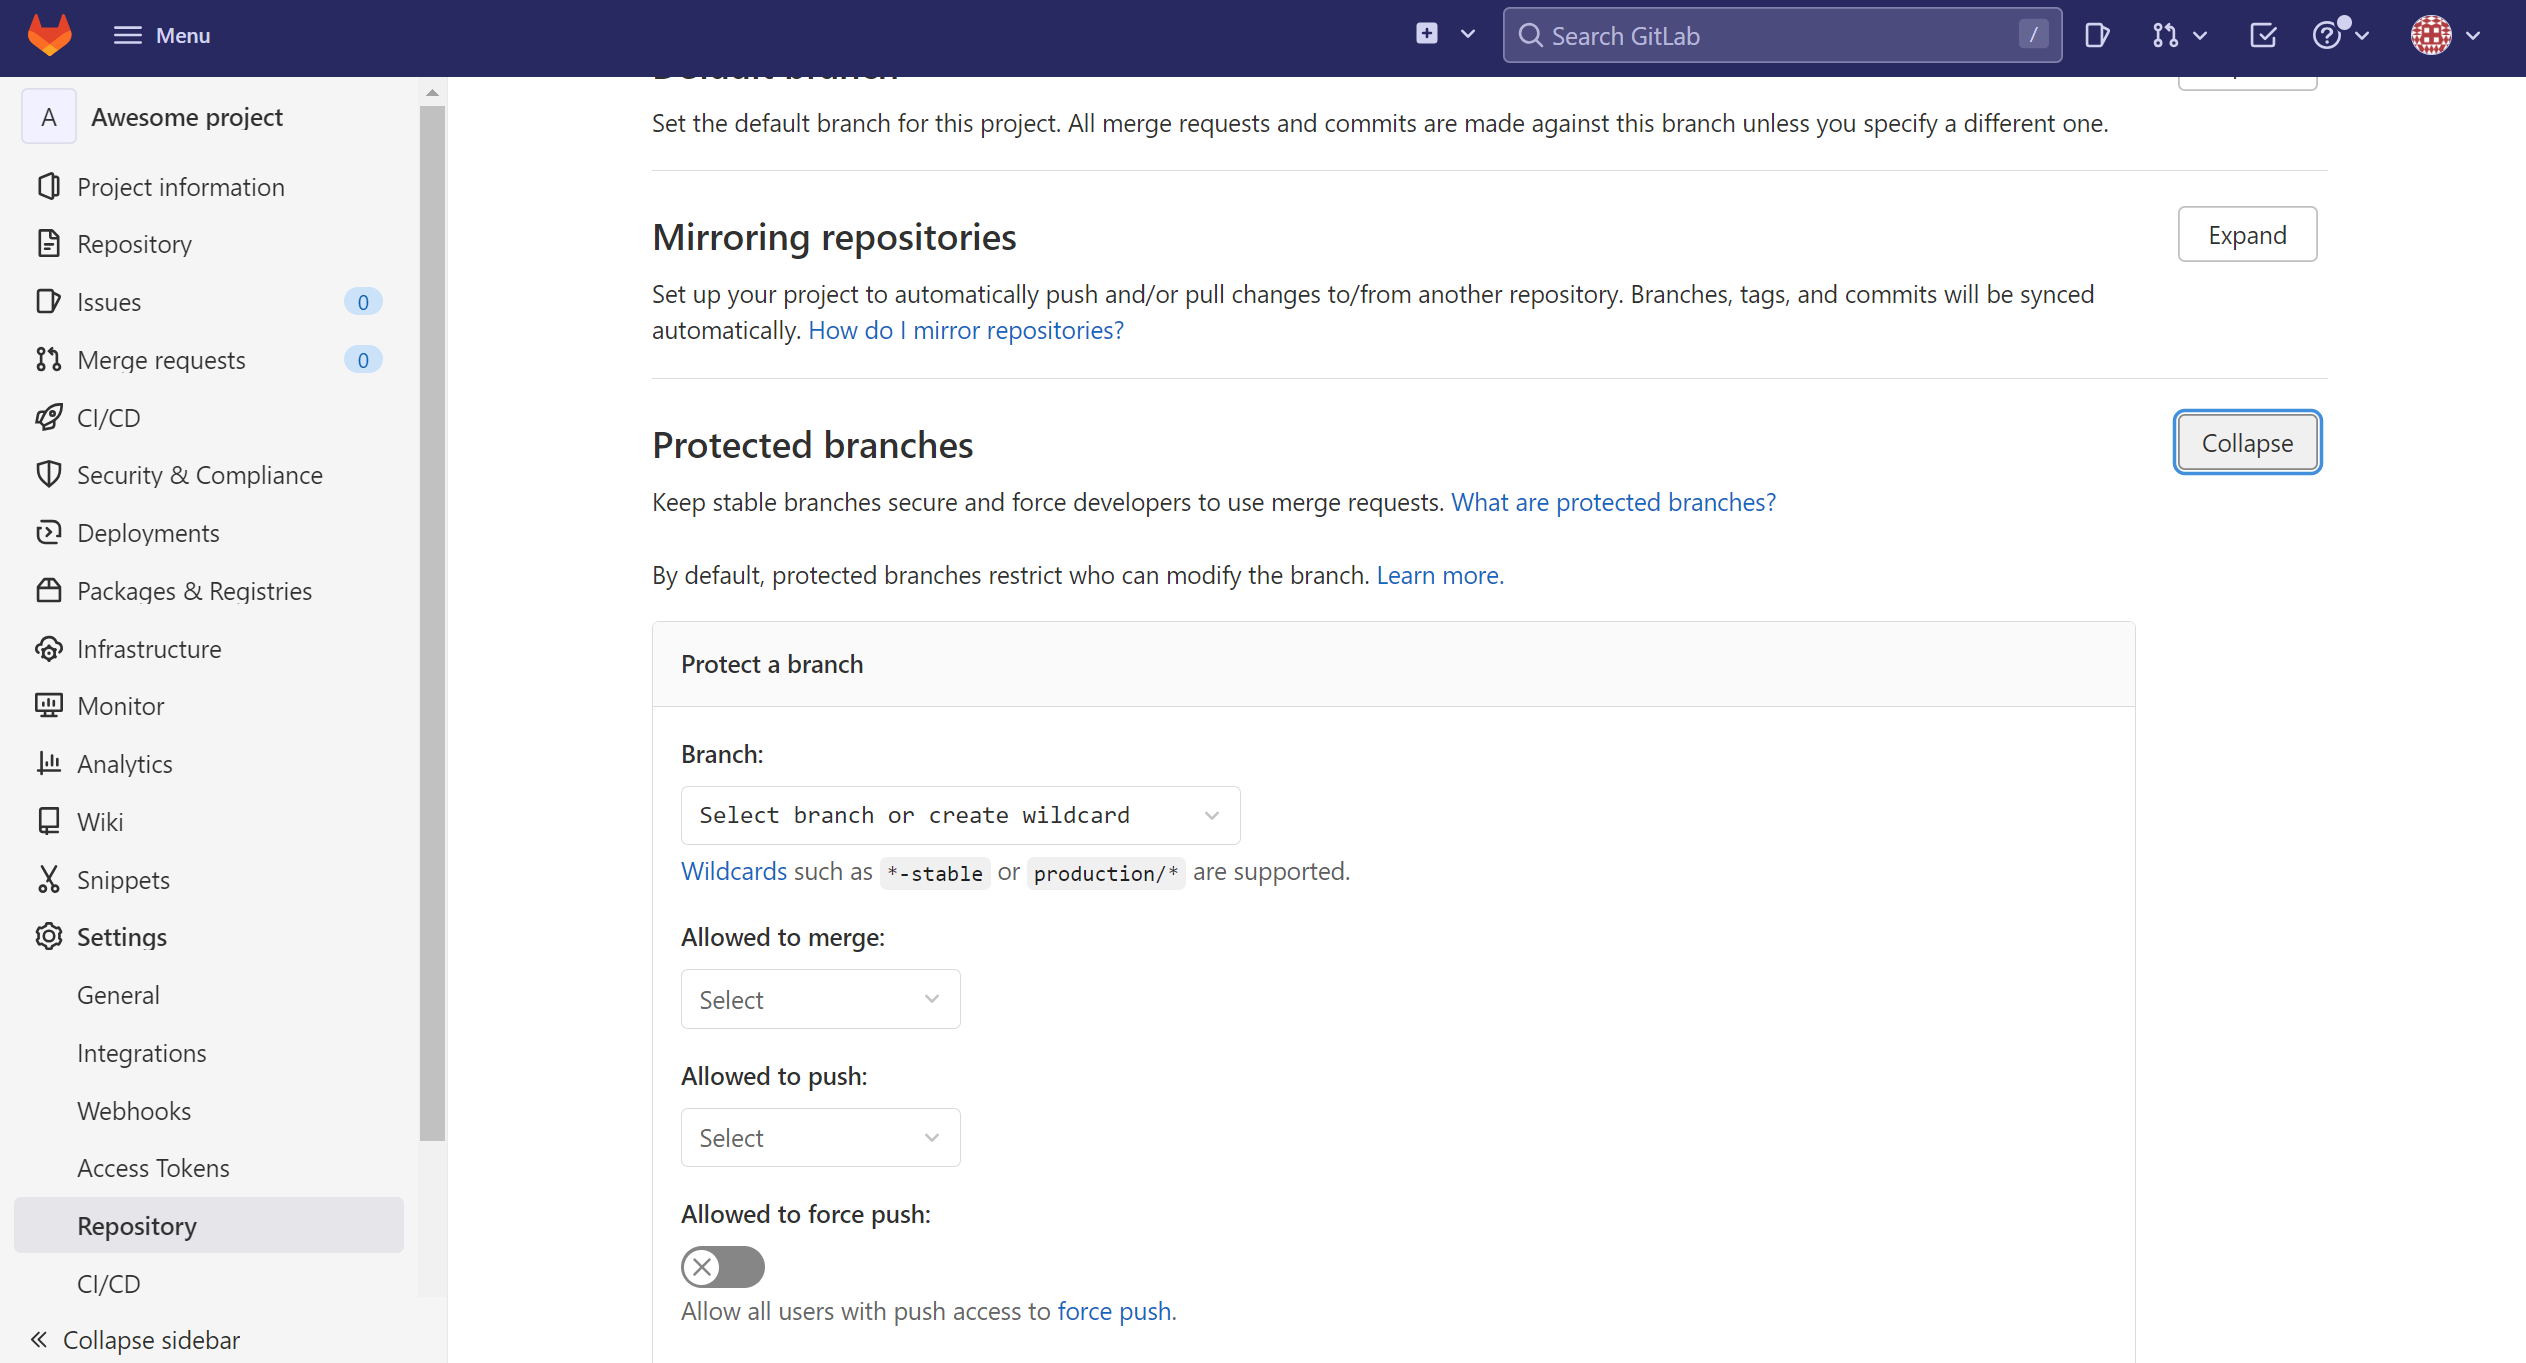
From there fill the form for the staging branch first:
- Branch: staging
- Allowed to merge: Developers + Maintainers
- Allowed to push: No one
- Allow to force push: No
Then hit the "Protect" button:

Now do the same thing for the production branch
Next
On the next blog post, we will actually write some basic apps and push them to the repository.